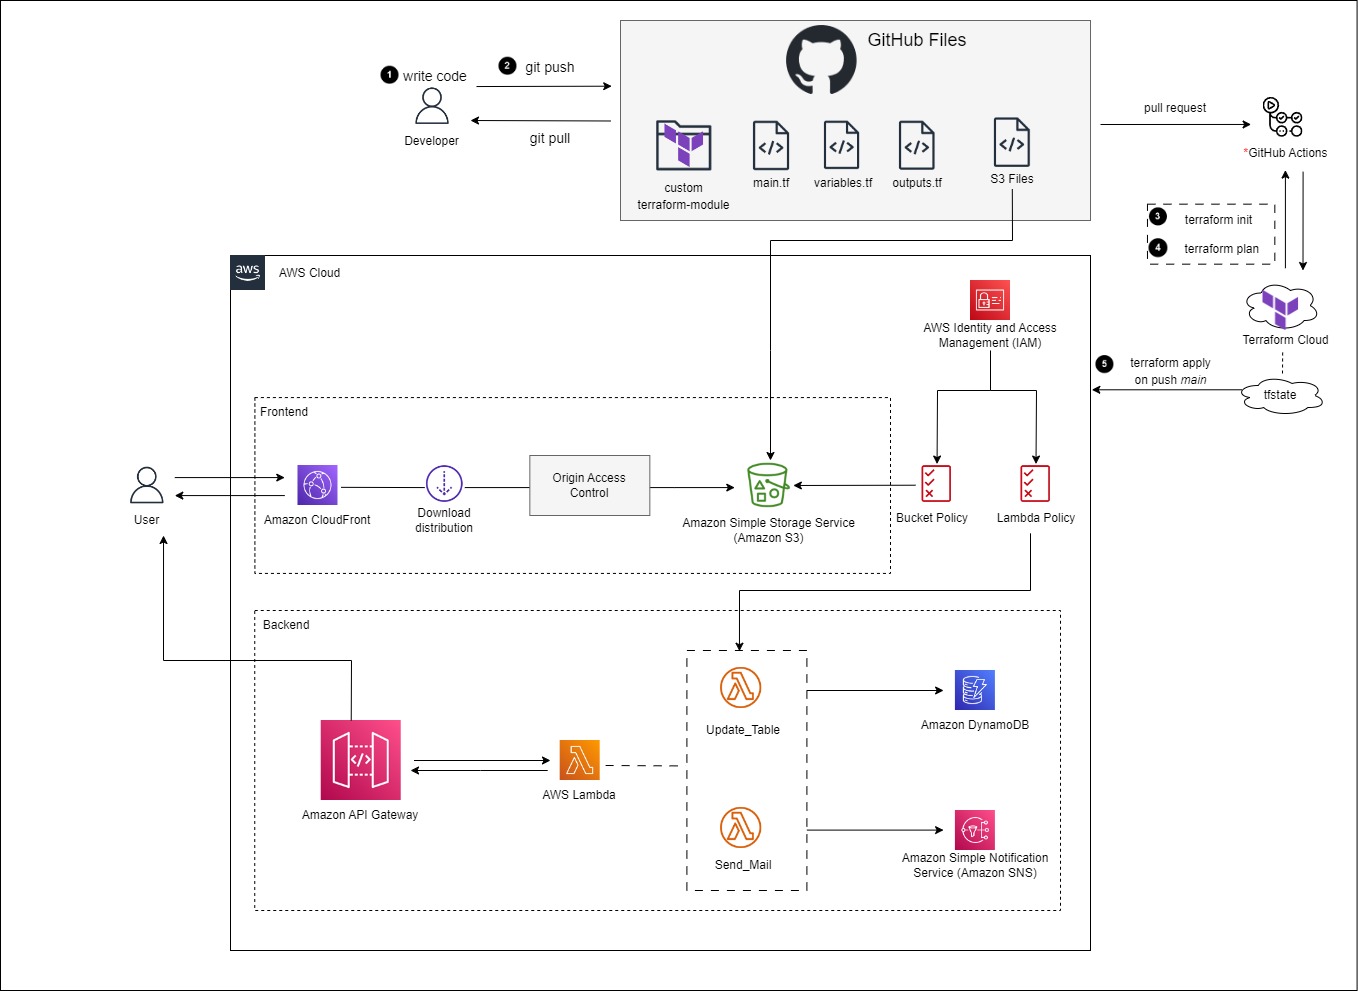
In this module, you will be updating your HTML and JavaScript files to integrate your API Gateway resources. You will also make modifications to your terraform-apply_cloudfront-invalidation.yml to invalidate your CloudFront Distribution. The invalidation will update CloudFront so that you will get an updated view of your site files once the modifications to your HTML and JavaScript are uploaded.
Create a new branch in GitHub
Login to GitHub.
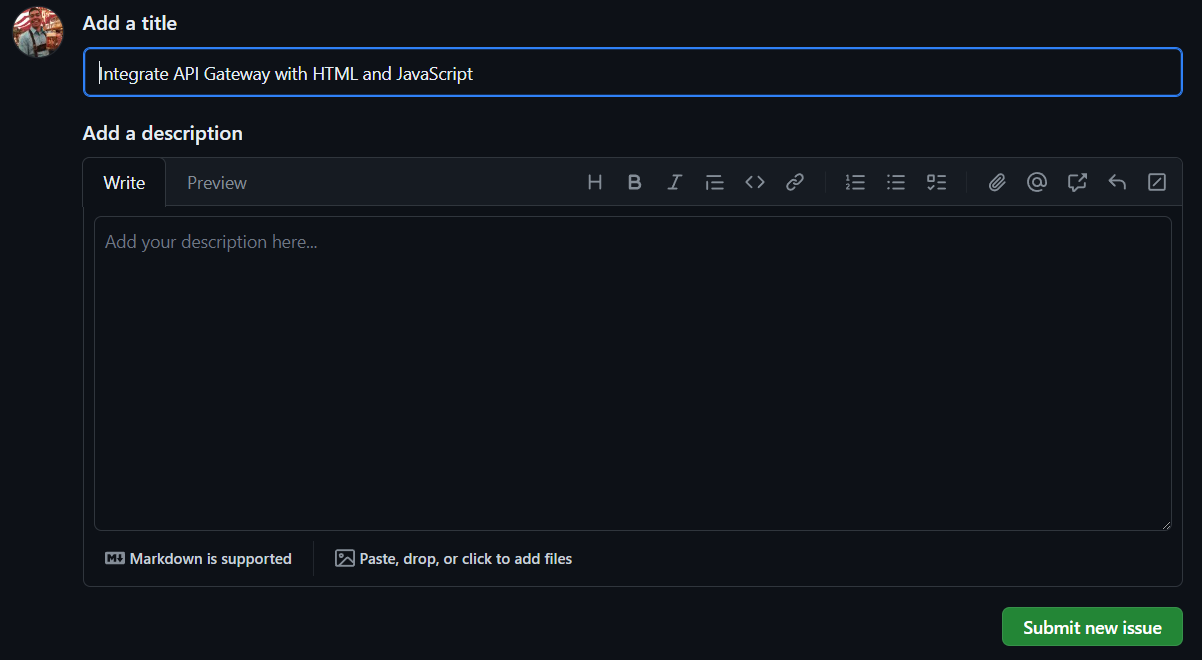
Select the Issues tab > Select New Issue.
Add the a title, e.g. Integrate API Gateway with HTML and JavaScript
Select Submit new issue.
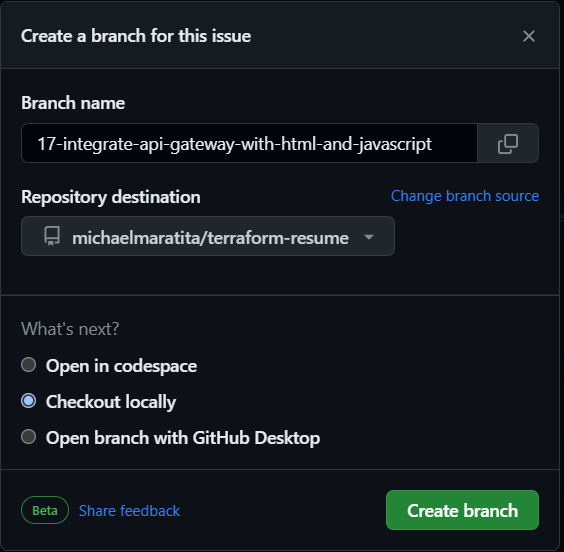
On the right pane, under Development, Select Create a branch.
Leave the defaults > Select Create branch.
Open your IDE Terminal.
Input the following:
git fetch origin
git checkout YOUR_BRANCH_NAME
Create API Gateway Deployment
In this section, you will deploy an API Gateway Stage so that it be called via your JavaScript files.
- Locate your api_gateway_deployment Terraform files in
./infra/modules/aws/api_gateway/api_gateway_deployment.
main.tf
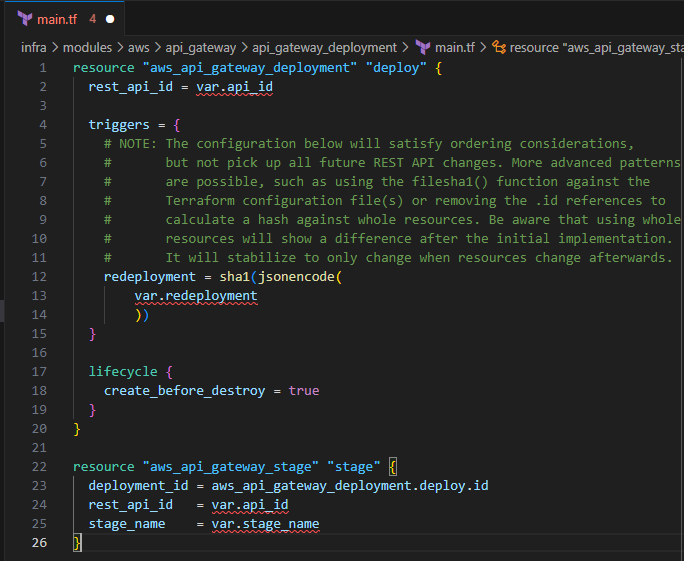
- Input the following to create the deployment and stage for your API Gateway
resource "aws_api_gateway_deployment" "deploy" {
  rest_api_id = var.api_id

  triggers = {
    # NOTE: The configuration below will satisfy ordering considerations,
    #       but not pick up all future REST API changes. More advanced patterns
    #       are possible, such as using the filesha1() function against the
    #       Terraform configuration file(s) or removing the .id references to
    #       calculate a hash against whole resources. Be aware that using whole
    #       resources will show a difference after the initial implementation.
    #       It will stabilize to only change when resources change afterwards.
    redeployment = sha1(jsonencode(
        var.redeployment
        ))
  }

  lifecycle {
    create_before_destroy = true
  }
}

resource "aws_api_gateway_stage" "stage" {
  deployment_id = aws_api_gateway_deployment.deploy.id
  rest_api_id   = var.api_id
  stage_name    = var.stage_name
}
- Save the file
variables.tf
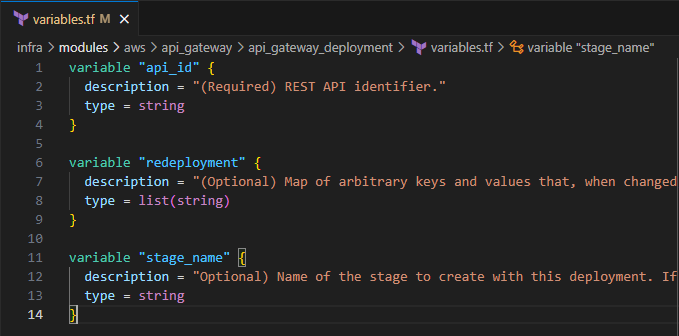
Input the following to define the input variables for this module
  variable "api_id" {
    description = "(Required) REST API identifier."
    type = string
  }

  variable "redeployment" {
    description = "(Optional) Map of arbitrary keys and values that, when changed, will trigger a redeployment. To force a redeployment without changing these keys/values, use the -replace option with terraform plan or terraform apply."
    type = list(string)
  }

  variable "stage_name" {
    description = "Optional) Name of the stage to create with this deployment. If the specified stage already exists, it will be updated to point to the new deployment. We recommend using the aws_api_gateway_stage resource instead to manage stages."
    type = string
  }
Save the file
There is no requirement for outputs for the deployment or stage of the API Gateway
Modifying my_portfolio/main.tf
main.tf
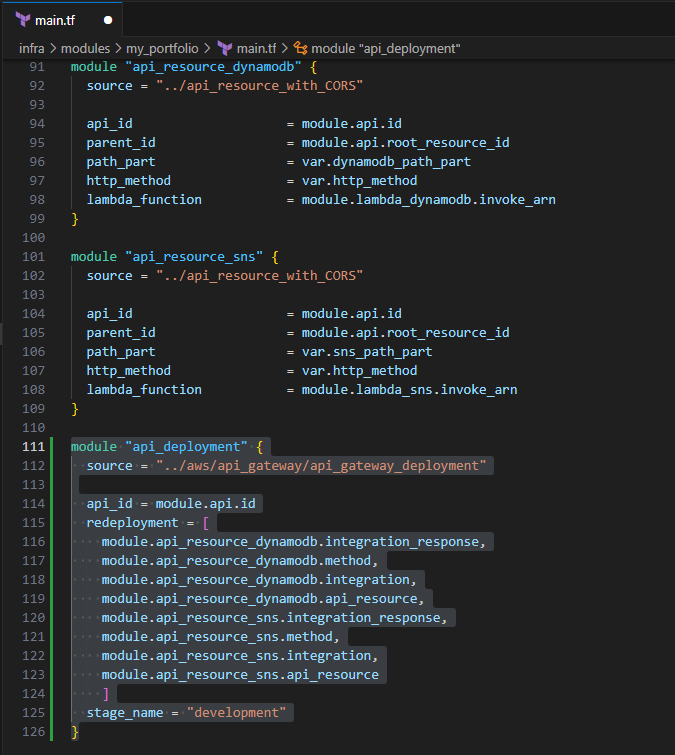
Include the following to create the API Gateway Deployment and Stage
  module "api_deployment" {
    source = "../aws/api_gateway/api_gateway_deployment"

    api_id = module.api.id
    redeployment = [
      module.api_resource_dynamodb.integration_response,
      module.api_resource_dynamodb.method,
      module.api_resource_dynamodb.integration,
      module.api_resource_dynamodb.api_resource,
      module.api_resource_sns.integration_response,
      module.api_resource_sns.method,
      module.api_resource_sns.integration,
      module.api_resource_sns.api_resource
      ]
    stage_name = "development"
  }
Save the file
variables.tf and outputs.tf
- There is no requirement to define these values because they are defined within this module.
Navigating index.html
- Locate your index.html file in
./public/html_files.
Entries for DynamoDB
Uncomment lines 56-58
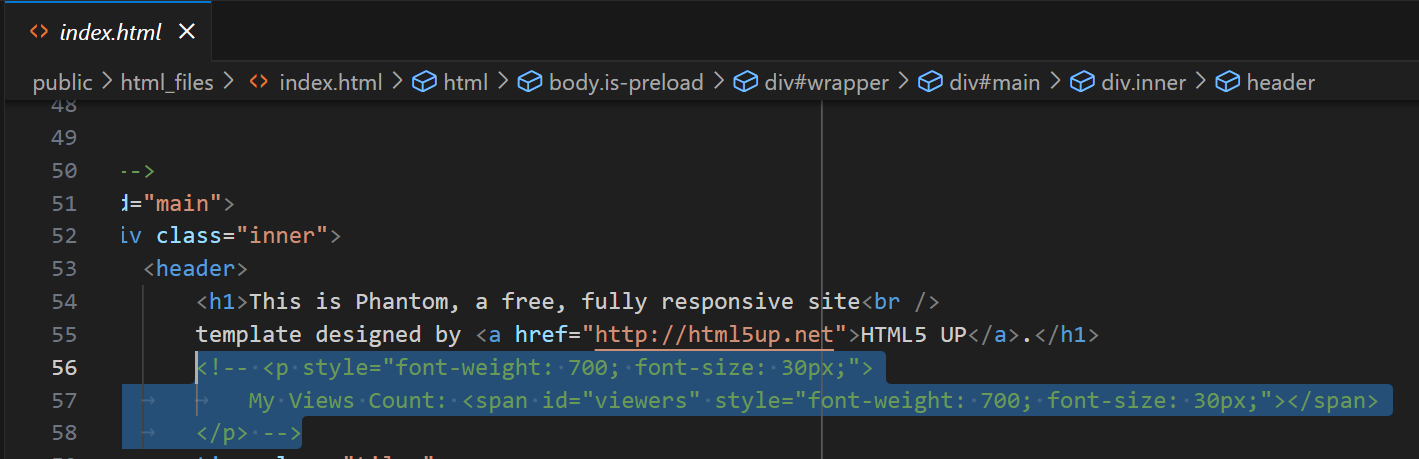
Highlight the lines and hit "ctrl" + "/"
OR
remove
<!--and-->
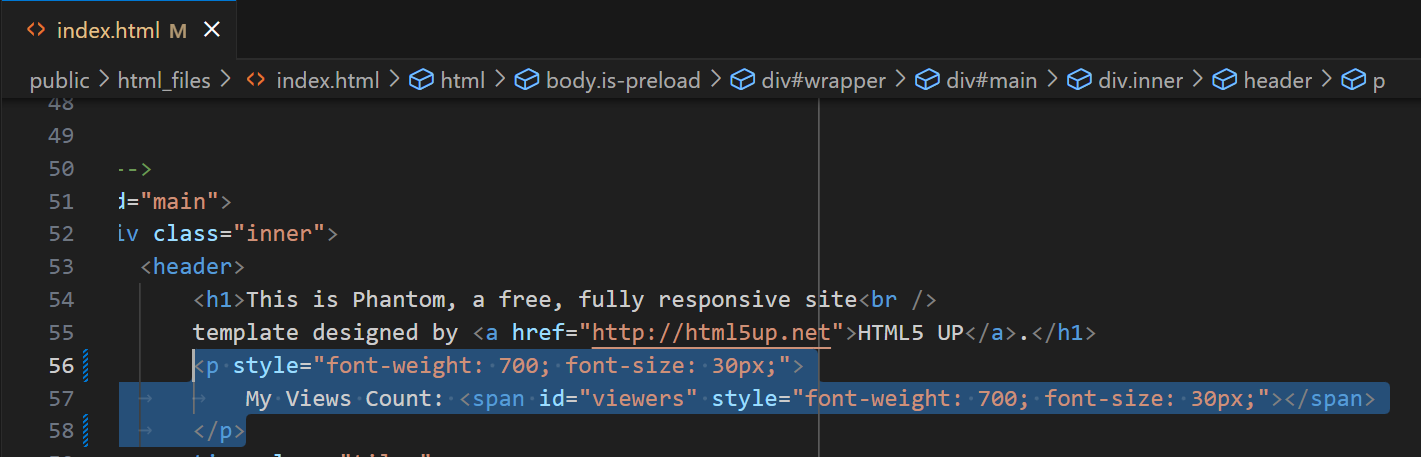
- This will show "My Views Count:" on the home page
Entries for SNS
- Locate lines 201-222 in index.html
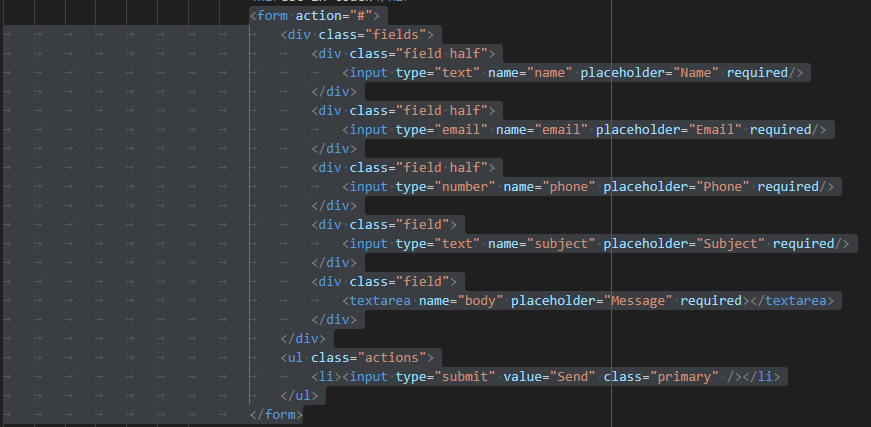
Note the names of each field. They include the requirements for the SNS Lambda function (name, email, phone, subject, body)
Entries for scripts
Scroll to the bottom of the index.html to lines 246-253
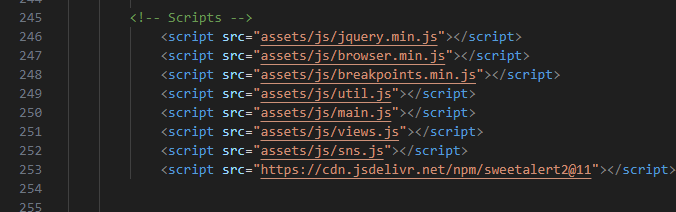
The scripts associated with interacting with the API Gateway are
views.js,sns.js, andhttps://cdn.jsdelivr.net/npm/sweetalert2@11Note the cdn.jsdelivr.net url is for a notification prompt for successful email
Save the file
Updating JavaScript files
Login to AWS Management Console
Search for "API Gateway" > Select your API Gateway
Take note of your API Gateway Resource ID

When the API Gateway Stage is deployed from the previous section, the execution URL will appear like below:
https://YOUR_API_GATEWAY_ID.execute-api.YOUR_AWS_REGION.amazonaws.com/development/emailme
https://YOUR_API_GATEWAY_ID.execute-api.YOUR_AWS_REGION.amazonaws.com/development/viewers
Full example:
https://akuaqoo6d5.execute-api.us-west-1.amazonaws.com/development/emailme
https://akuaqoo6d5.execute-api.us-west-1.amazonaws.com/development/viewers
views.js
Locate your views.js file in
./public/asset_files/assets/jsReplace INSERT_YOUR_API_URL and input the viewers URL
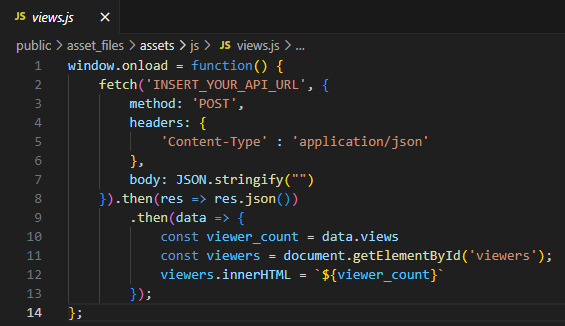
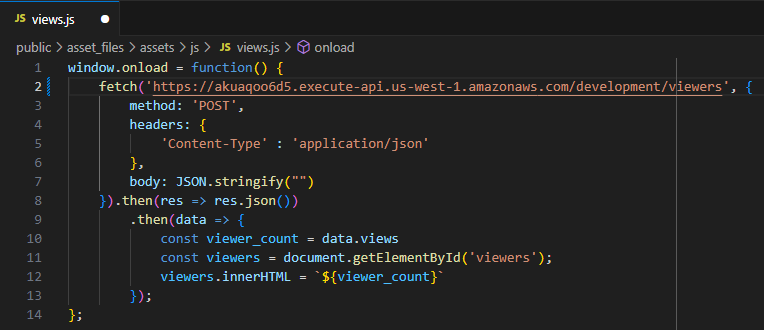
- Save the file
sns.js
Locate your sns.js file in
./public/asset_files/assets/jsReplace INSERT_YOUR_API_URL and input the emailme URL
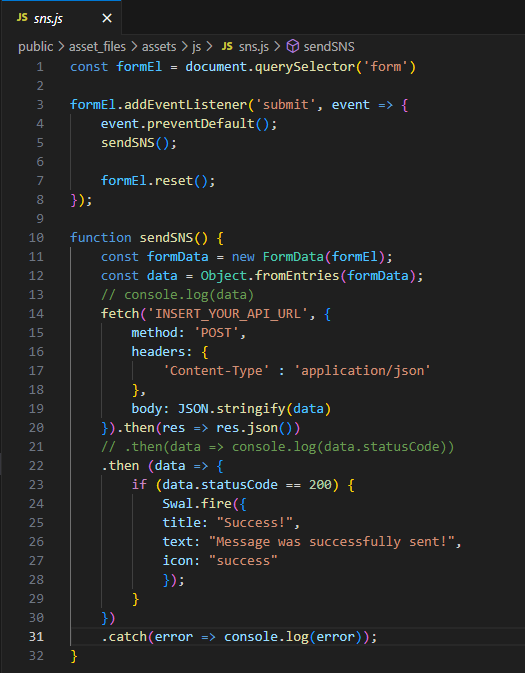
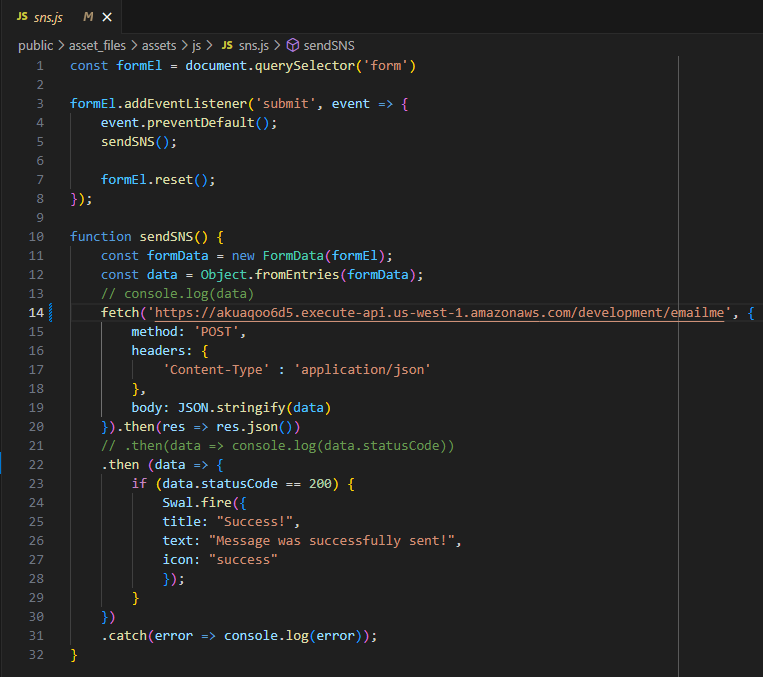
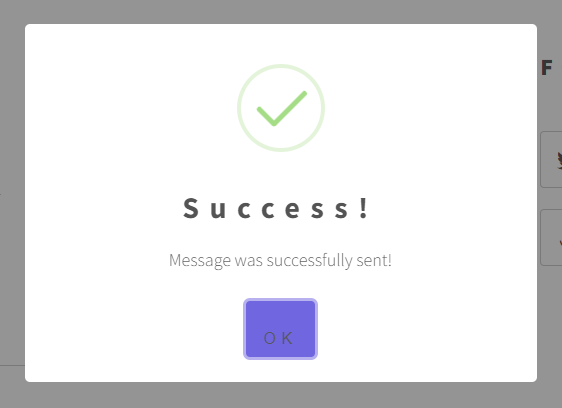
Note lines 23-30. The SNS_EMAIL function returns a {statusCode: 200} upon successful execution. If the response for this JavaScript function receives the statusCode 200, it will prompt the end user of a successful message using the sweetalert2 message similar to the image below:

- Save the file
Updating terraform-apply_cloudfront-invalidation.yml
In this section, you will update the terraform-apply_cloudfront-invalidation.yml to include the CloudFront invalidation portion of the workflow.
Locate your terraform-apply_cloudfront-invalidation.yml in
./.github/workflowsfolderUncomment lines 60-98
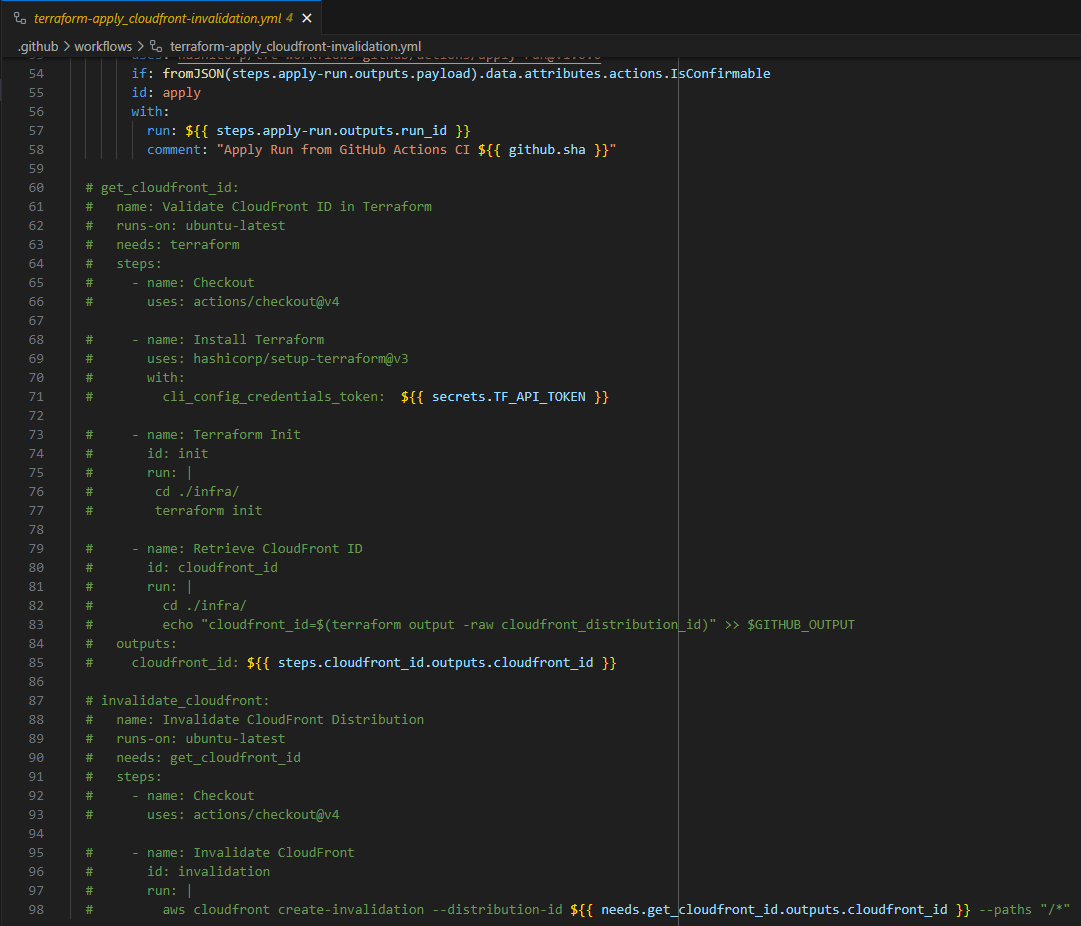
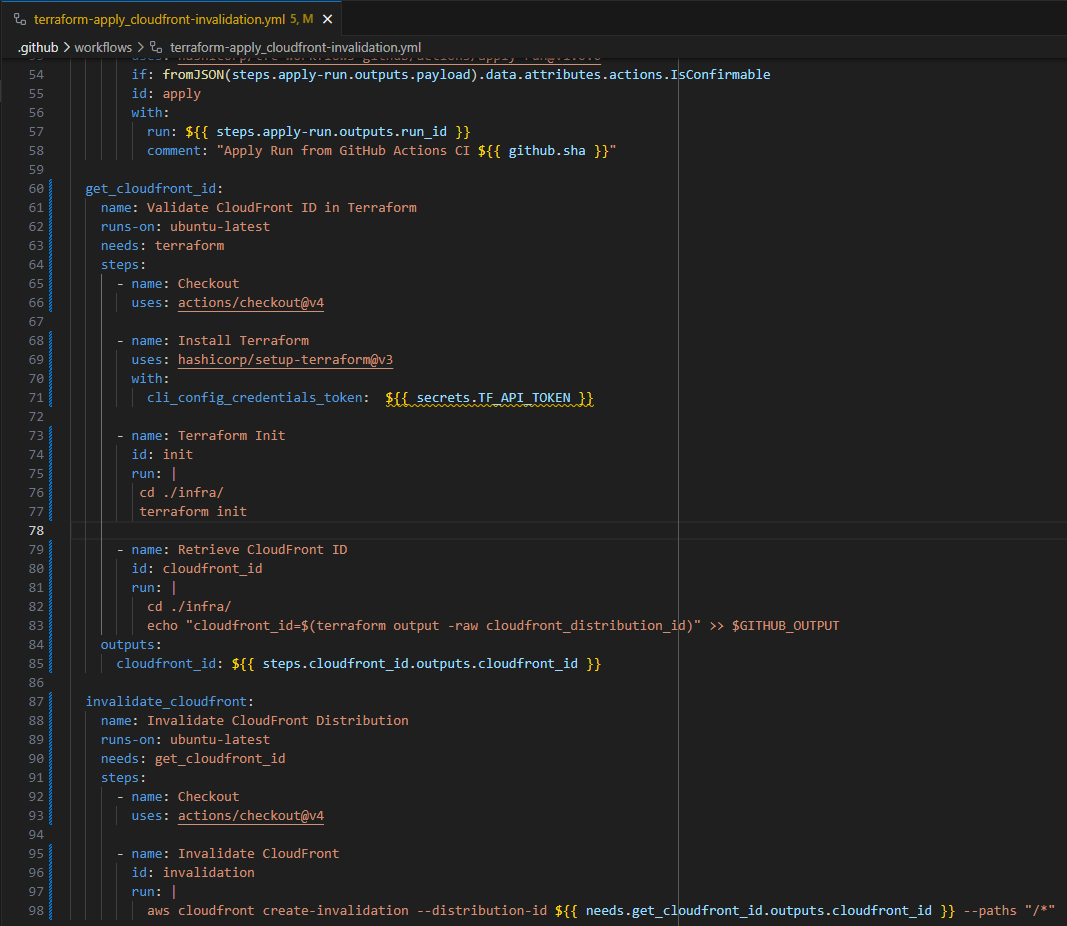
You can either highlight lines 60-98 and hit "Ctrl" + "/" or remove the "#" from each line
Save the file
How CloudFront Invalidation is accomplished
get_cloudfront_id
Upon completion of the Terraform Apply job, the get_cloudfront_id job is executed
Your respository is checked out
Terraform is installed on the runner
Changes directory into
./infra/and runs terraform initChanges directory into
./infra/and definescloudfront_idfrom the terraform output for cloudfront_distribution_idcloudfront_id is passed as an output variable in the workflow
This will pass the CloudFront ID for your CloudFront distribution defined in this deployment.
invalidate_cloudfront
Upon completion of get_cloudfront_id, the invalidate_cloudfront job is executed
Your repository is checked out
Using AWS CLI, your CloudFront is invalidated using the CloudFront ID passed from the get_cloudfront_id output
- The "/*" invalidates all files associated with the distribution
Pushing to GitHub
Ensure your files are saved.
In your IDE Terminal, type the following:
git add .
Add all files that were changed.
git commit -m "Updated HTML and JavaScript files to interact with API Gateway. Created API Gateway deployment. Updated workflow to include CloudFront invalidation
Commit the changes with a comment.
git push
Push to GitHub.
Create Pull Request
Login to GitHub.
You should see the push on your repository.
Select Compare and pull request.
Validate the changes that were made to be pushed to
mainSelect Create pull request.
Your Terraform Plan should run before you can merge to main.
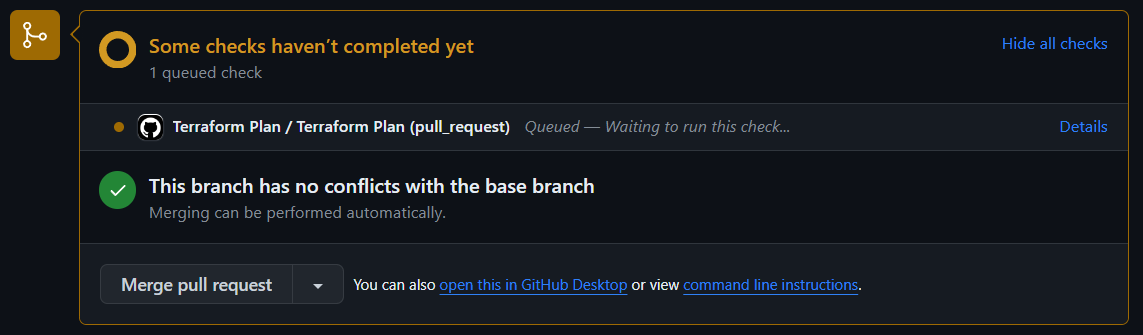
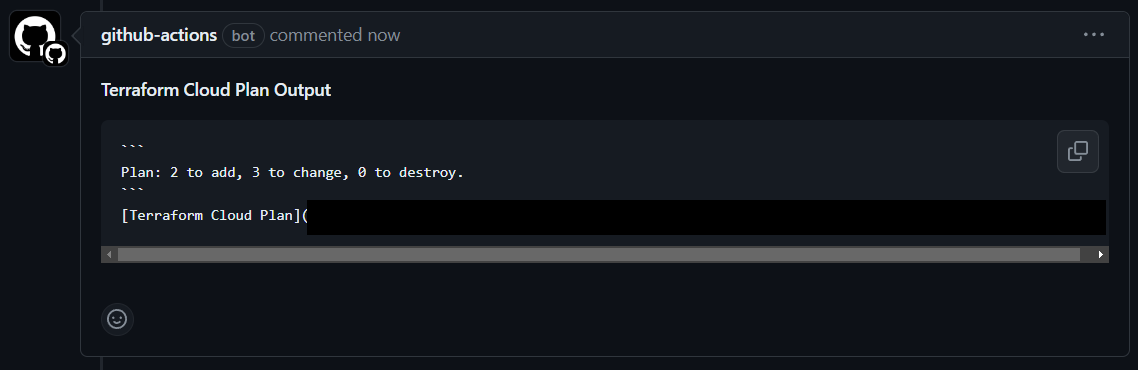
If you are using the same site files from the original template, the plan to add 2 and change 3 should match.
Select Merge pull request > Confirm merge.
Delete branch.
In your IDE Terminal, type the following:
git checkout main
git pull
Validation:
Visit your CloudFront website
You can get your URL from CloudFront

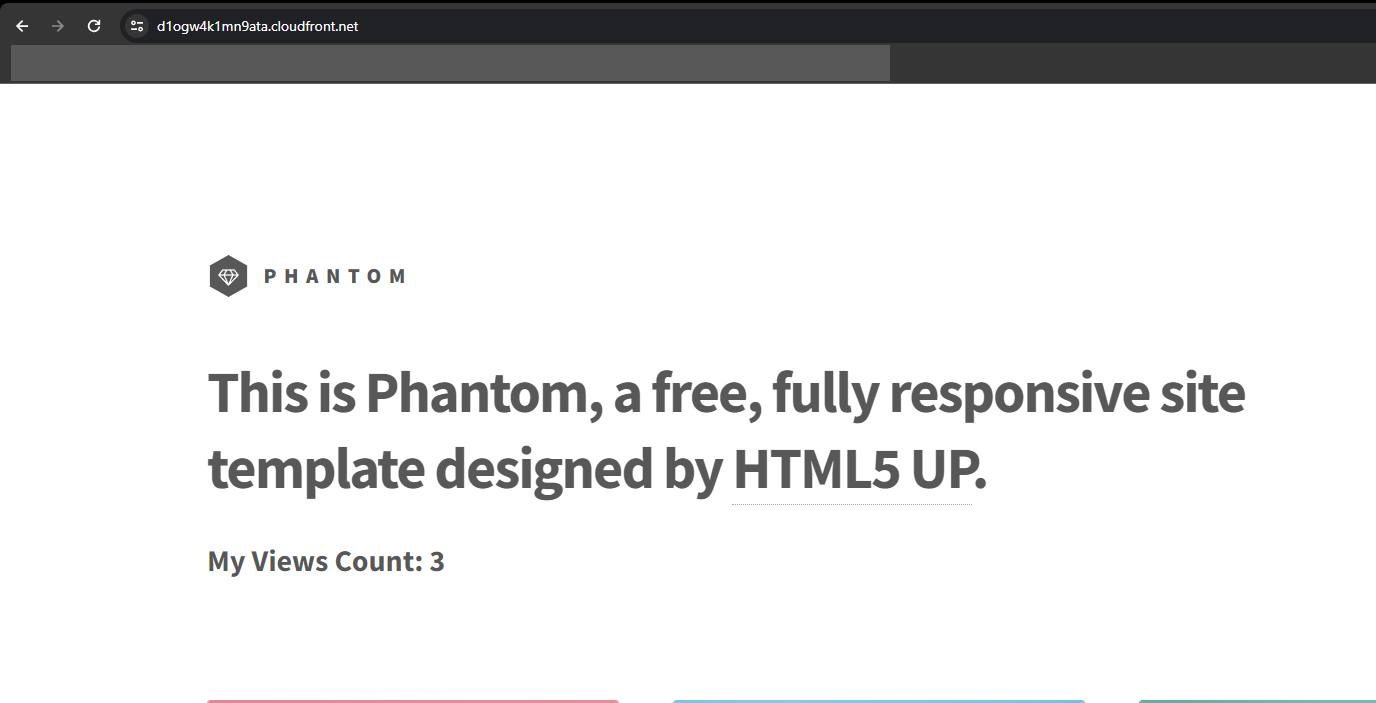
You should see the My Views Count: NUMBER on your Home page
Test the functionality of your Messaging form
Input the following:
  Name = Thor
  Email = god_of_thunder@odinson.com
  Phone = 000000000
  Subject = “THIS DRINK, I LIKE IT! ANOTHER!”
  Message = "I'm Still Worthy."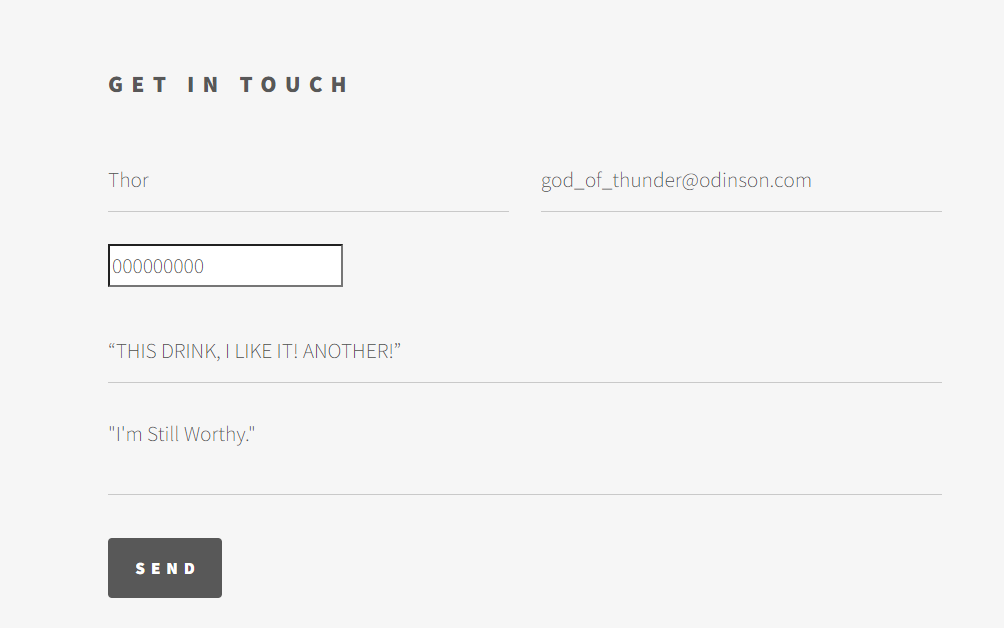
- Hit SEND
You should get a prompt like below
Check your email. You should receive an email like below.

You have successfully integrated your API Gateway with your development site! You can now see how many visitors come to your page, and they can send you emails via your message form. In the next module, I will walk you through integrating a custom domain using Route53 for your CloudFront distribution and your API Gateway.
About the author
I am a Sr. Windows Administrator looking to sharpen my skills within the cloud space. This blog serves not only as a guide for others to use but also to document my cloud journey.
Comments
Join the discussionNo comments yet. Be the first to comment.
AWS Cloud Resume
In this series, I will outline the steps to integrate a fully functional serverless website hosted on CloudFront using Amazon S3. The implementation deployment will be through Terraform.